Advertising disclosure: This page includes affiliate product links that may earn us a commission, as well as products from our own store.
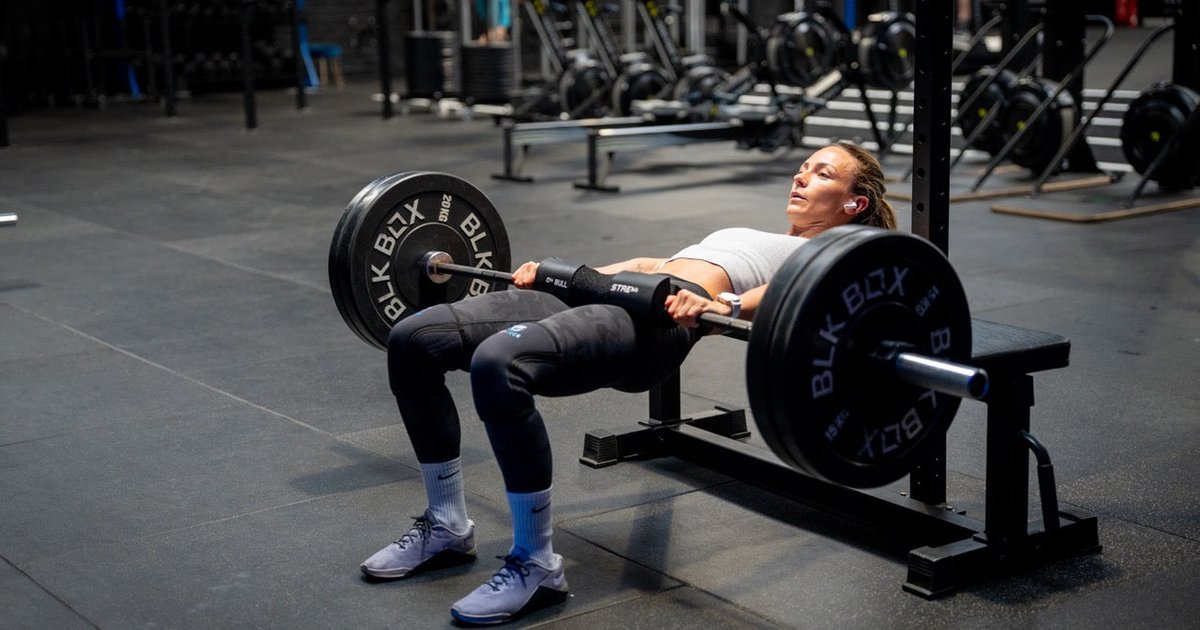
The KAS glute bridge looks almost identical to a barbell hip thrust until you watch the hips. Instead of dropping the bar toward the floor between repetitions, the lifter moves through a deliberately small arc just below lockout. The top position becomes the reference point, not a launchpad for the next heavy rep. That distinction matters if you want a movement that is easy to standardize rather than a competition to see how many plates will fit on a bar.
The exercise can be useful, but a hard glute squeeze is not proof that it produces more muscle than a conventional hip thrust. Here is how to set it up, make each short rep count, compare it with other glute exercises and track progress without confusing smaller movement with automatic superiority.
What makes a KAS bridge different from a hip thrust?
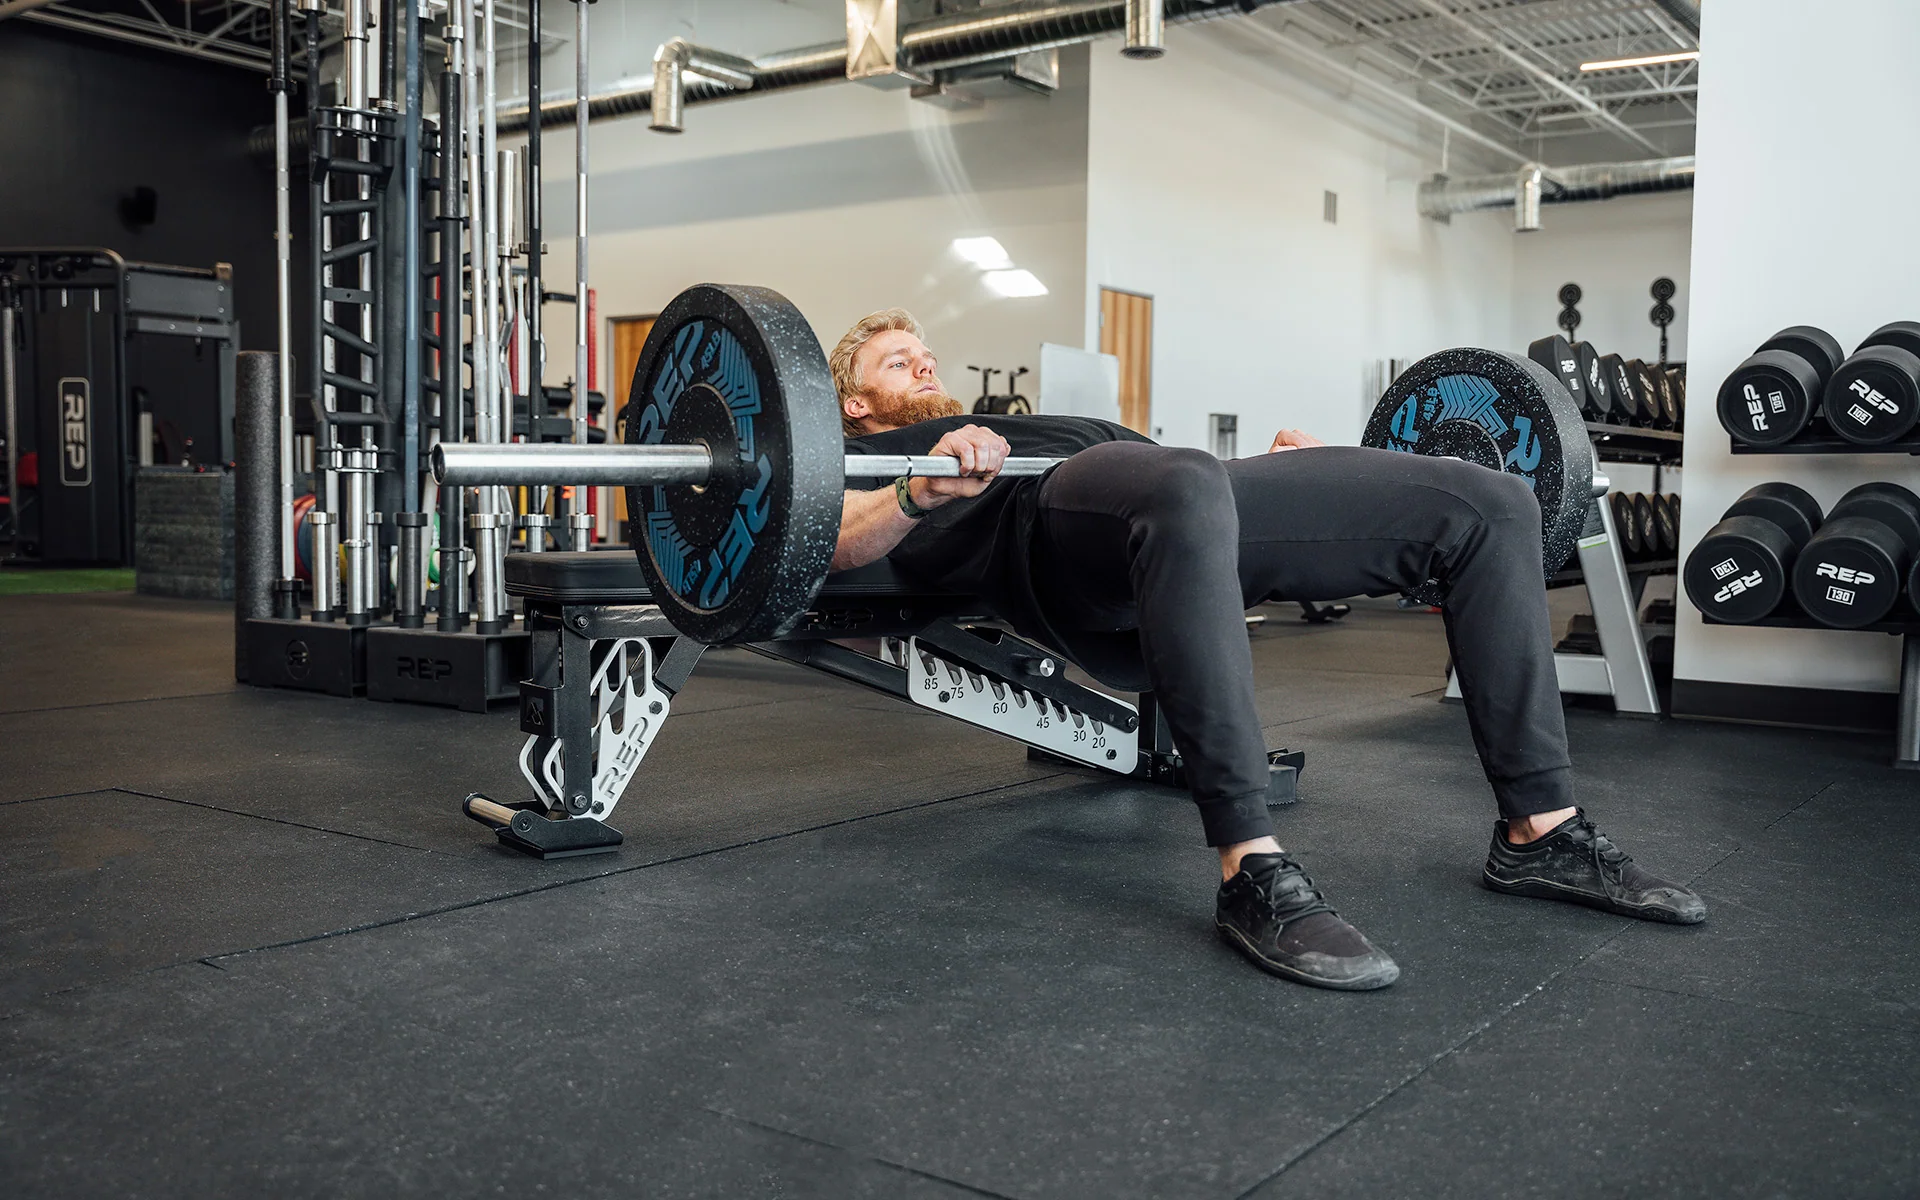
Both exercises involve hip extension with the upper back supported by a stable bench, feet planted in front and resistance placed across the hips. The large gluteus maximus helps extend the hip, with other muscles assisting and stabilizing the body. In a conventional hip thrust, you typically lower the hips substantially before driving them upward again. In the KAS version, you reach the top, lower only a small distance and return without letting the hips fall toward the floor.
The useful definition is not an exact number of inches carved in stone. Common coaching descriptions use roughly two or three inches, but people have different limb lengths, bench heights and bar paths. At the top, the shins can be near vertical; during a short controlled descent, they should not swing through a large angle. When your knees noticeably travel back and the hips descend far below the starting line, you have moved toward a normal hip thrust.
This short range keeps attention on controlled work near hip extension. It does not eliminate the hamstrings, quadriceps or trunk from the exercise, and it does not guarantee a better hypertrophy stimulus. Hip-thrust research describes muscle activation under specific testing conditions; it is not a direct trial of the KAS variation or proof of extra long-term glute growth. Treat the variation as a tool for training a particular part of a movement, not an upgrade everybody must adopt.
Set the bench, bar and feet before adding load
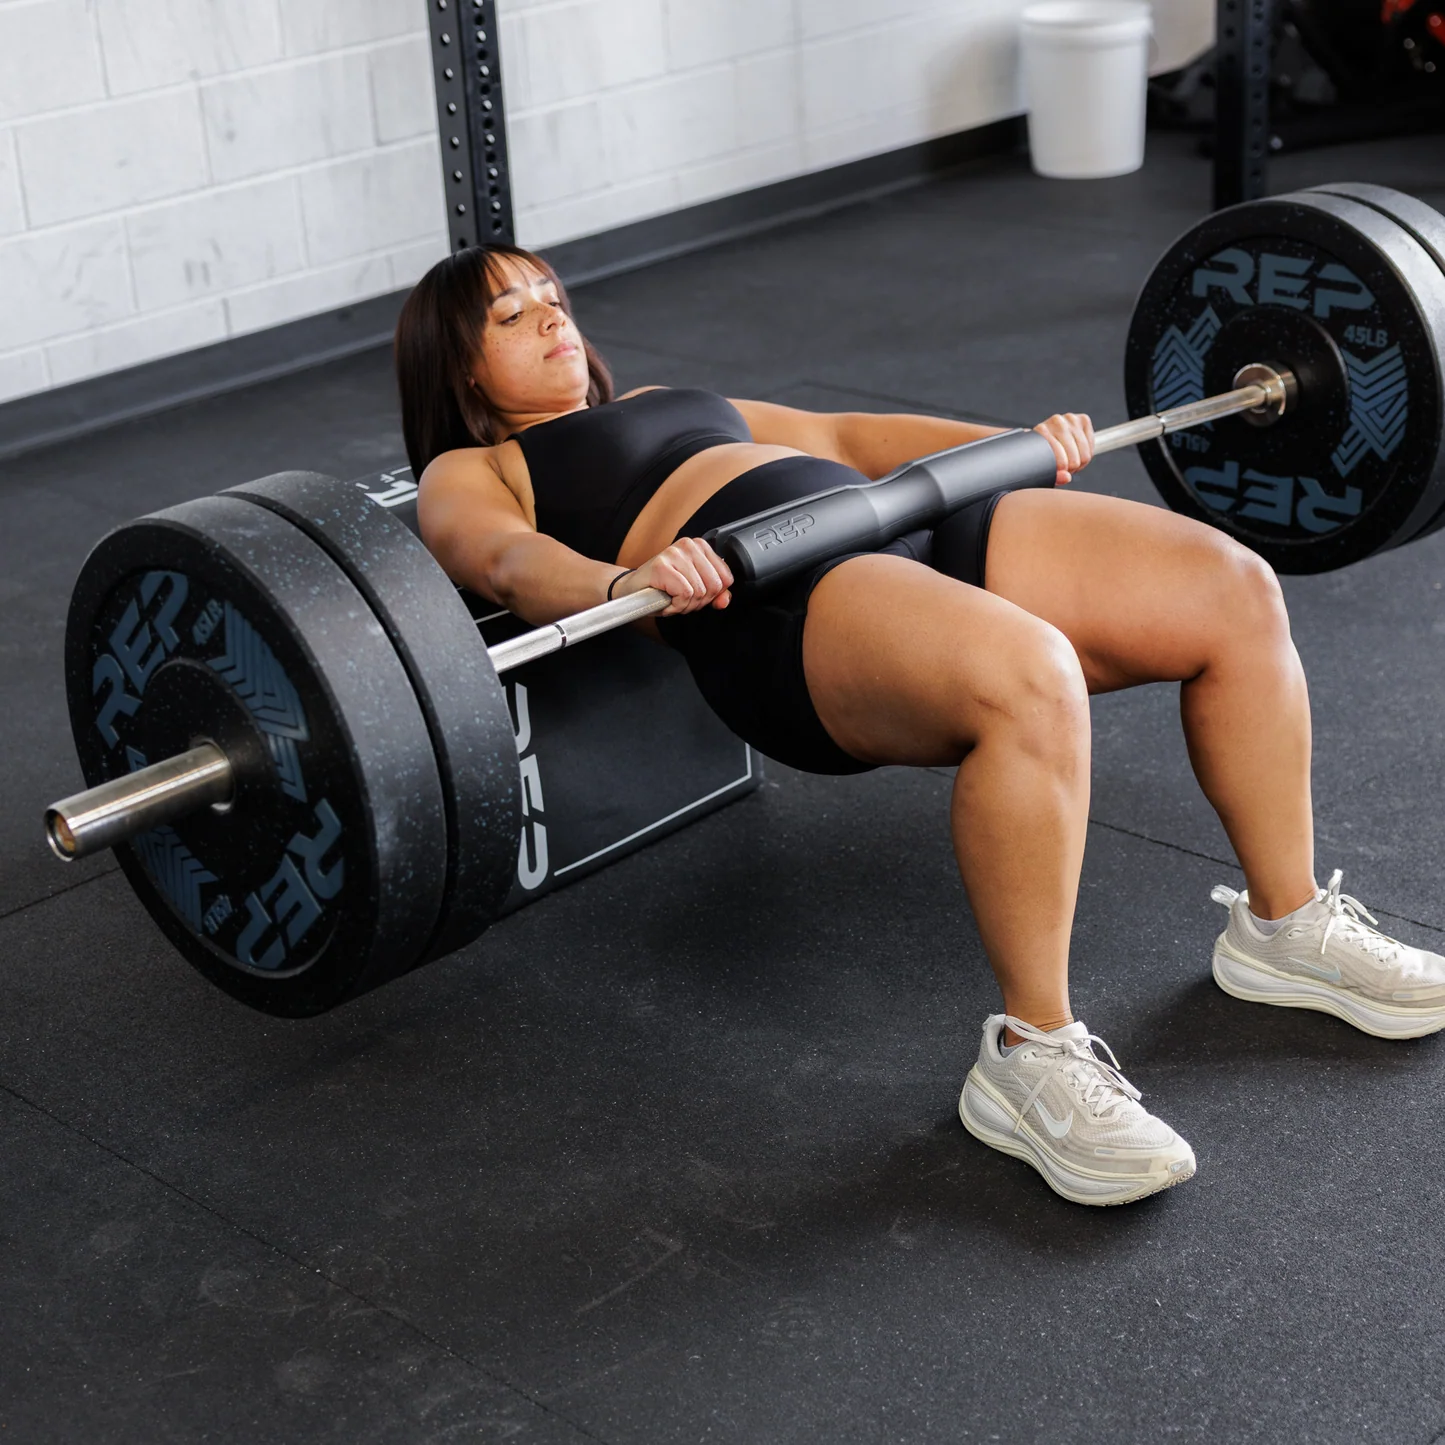
Start by sitting on the floor immediately in front of a bench that will not slide or tip. Place the lower portion of your shoulder blades near the upper bench edge, rather than balancing on your neck. Check that the bench has a stable base on the flooring. If a light test rep causes the bench to move, secure the setup or use a dedicated hip-thrust station instead of holding it in place with improvised supports.
Bring the bar over the crease of the hips with enough clearance to get into position. Use a bar pad or folded towel if the pressure is distracting, and keep both hands on the bar so it cannot roll toward your abdomen. Start with an empty bar or a manageable dumbbell. Heavy plates can make the initial setup awkward; the first goal is an organized position, not lifting as much as possible. Lower the bar carefully between sets rather than rolling it across your body.
Plant the entire foot, roughly hip-width apart, and adjust the distance from the bench until your shins are approximately vertical at the top. Avoid forcing your heels far behind the knees, or stretching the feet so far forward that you have to drag the bar through the movement. Keep knees tracking comfortably over the feet. Glute tension will vary with anatomy and stance; finding a position you can reproduce is more valuable than chasing a universal foot measurement.
Make every short repetition visible and repeatable
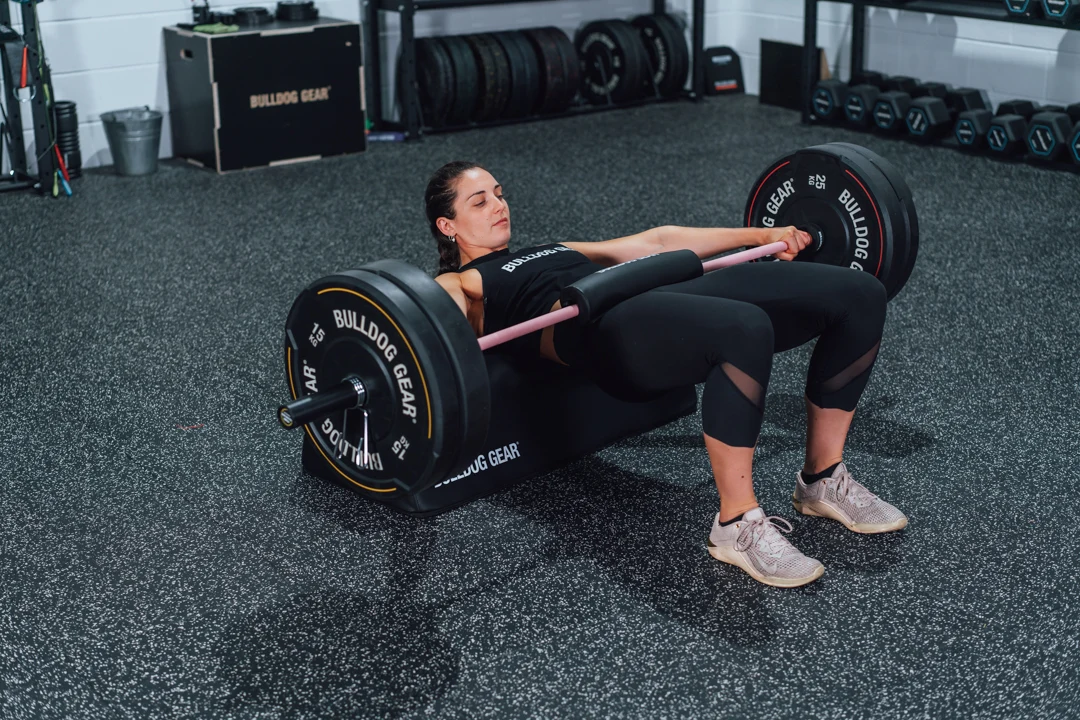
Lift to the top by pushing through your planted feet and extending the hips. Stop when the torso and thighs form a fairly straight line. Keep the ribs stacked over the pelvis and the abdomen braced, rather than arching the lumbar spine to lift the bar another inch. Look forward or slightly down if that helps you keep the neck quiet; avoid throwing the head backward as you rise.
Pause briefly at that top position, then lower the hips slowly just a few inches. Think of the thighs and pelvis as one unit moving around the hip joints, not the lower back bending. The descent should be easy for someone watching from the side to distinguish from a full-range thrust. Reverse direction smoothly before you lose the top-range position, and come back to the same comfortable lockout without bouncing.
A practical starting tempo is about two seconds down, one second back up and a clear one-second top pause. That is a coaching example, not a researched optimum. Choose a load that allows every repetition to meet the same standard. A set of 12 identical short repetitions tells you more than 20 repetitions in which the last eight drift lower, the knees move and the lumbar spine starts doing the work.
If your gym has a mirror directly beside the station, use one light set to establish the bottom landmark, then face forward during work sets. A short side-view video can be even more useful: it reveals whether the depth changes as fatigue rises. Record bench position and foot distance before changing either; otherwise you will not know whether higher repetitions came from strength gains or an easier setup.

Equipment Worth Exploring
Explore equipment, accessories and gear from our carefully selected range.

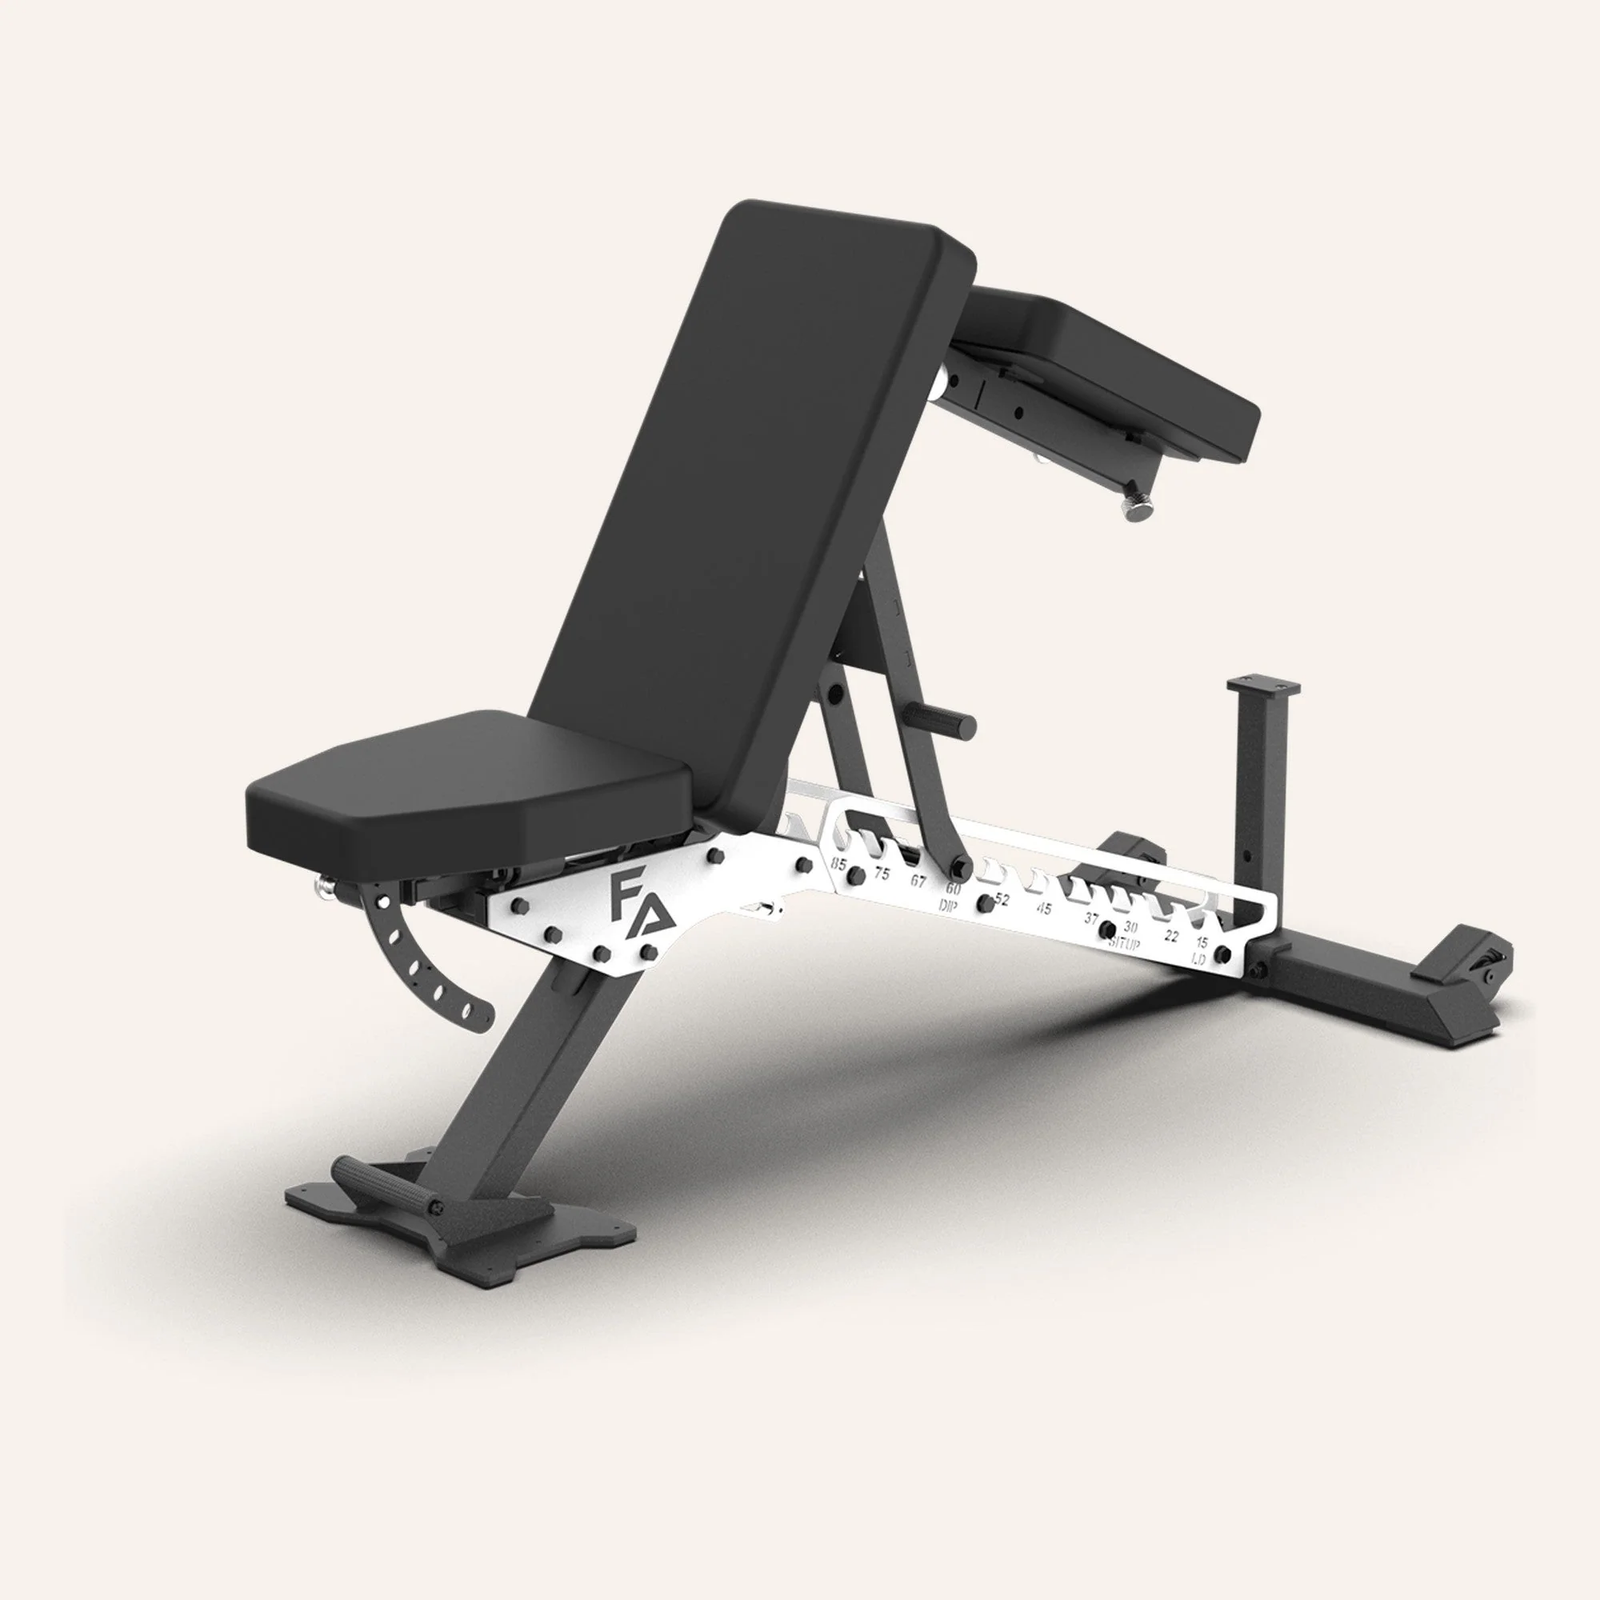

FID Bench MAX
Adjustable bench offering flat, incline, and decline positions + adjustable headrest.

Multi Bench MBX-650 2.0
Adjustable multi-bench with roller adjustment, 15 backrest positions and accessory mounts.


Grip Plates
Rubber-coated weight plates with handholds for loading barbells and machines.

Studio Glute Drive
Plate-loaded hip-thrust machine with supported back pad and adjustable foot platform.
KAS bridge, floor glute bridge or full hip thrust?
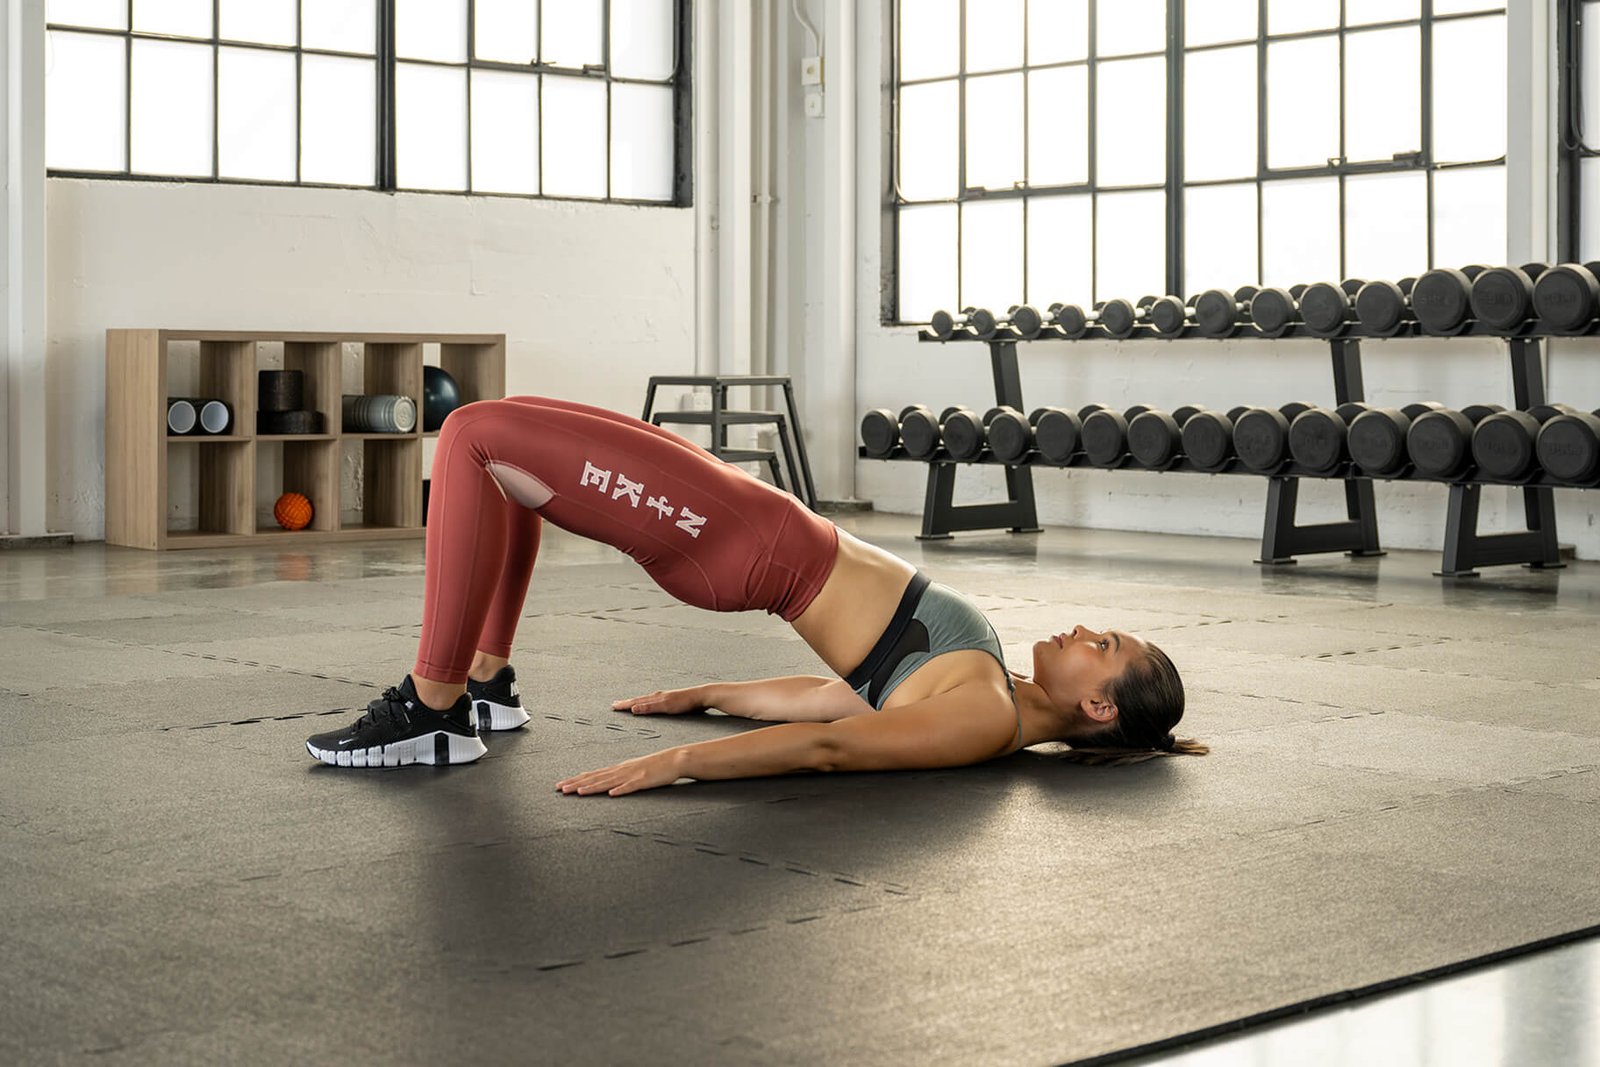
The floor glute bridge puts the shoulders on the ground. It is usually quicker to set up, needs little equipment to begin and works well for learning hip extension. The floor also limits how far the hips can descend. Loading a floor bridge very heavily can be inconvenient, however, because getting a loaded bar into position and keeping it steady takes work.
A conventional barbell hip thrust uses the bench-supported setup but travels through substantially more hip motion. That makes it useful when you want to practice moving the load through a larger arc. The KAS bridge keeps the same basic equipment and emphasizes a controlled small arc at the upper end. Neither variation automatically replaces squats, split squats, hinges or other lower-body movements, which train different positions and challenges.
In one nine-week comparison of full-range hip thrusts and back squats, both training approaches produced glute growth in previously untrained participants. That finding supports the full hip thrust as a legitimate training option but cannot rank the KAS bridge, which was not tested. Likewise, feeling a stronger local burn during short reps is not a measure of total muscle growth. Pick the version that fits your goal, comfort and ability to progress consistently, and keep the movements distinct in your log.

Leg Day Shirts & Workout Gear
Leg-day gym shirts and workout gear for lifters who never skip squats, lunges and lower-body punishment.

Hippo Thrust Meme – Hip Thrusts & Leg Day , Gymbro, T-Shirt
Bring “Hippo Thrust Gym Meme” humor to your next gym day.

Butt Stuff Glute Sweater Hip Thrust Lovers Meme T-Shirt
Bring “Butt Stuff” humor to your everyday gym style.

Big Butt Energy Leg Day & Glute Gains Meme Vest Tank Top
Add some leg-day attitude to training with “Big Butt Energy”.

Big Booty Energy Glute Builders Meme Hoodie
Keep it laid-back with a little “Big Booty Energy” attitude.

Brains Beauty Booty – , Gains & Glutes T-Shirt
Heavy lifts, good laughs, and a little “Brains Beauty Booty” energy.

Let It Grow Girl – Bootybuilder, Leg Day & Hip T-Shirt
Heavy lifts, good laughs, and a little “Let It Grow Gym Girl” energy.

Invisible Booty To Visible Booty Leg Day Motivation Tank Top
Show some personality between sets with “Invisible Booty To Visible Booty”.

Thicc AF Sweater Booty Lovers & Glute Gains Meme T-Shirt
Keep things casual with a little “Thicc AF” attitude.

Big Heart Bigger Ass & Leg Day Meme Hoodie
Make your off-duty look more fun with “Big Heart Bigger Ass”.

Booty Building Mode Gym Girl T
Bring “Booty Building Mode Gym Girl” humor to your next gym day.
Load and progress the exercise without gaming the range
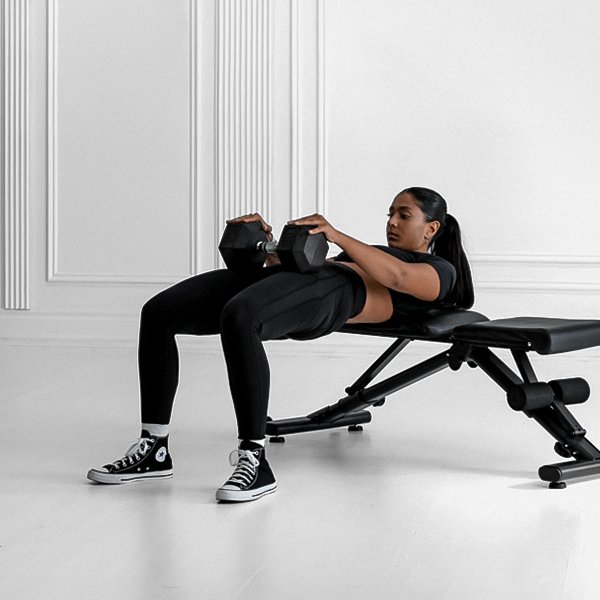
Begin conservatively, particularly if you are used to using momentum in heavy hip thrusts. For example, choose a weight that lets you complete two or three sets of eight to 15 controlled repetitions with a small reserve of good reps. Keep your bench height, foot marks, stopping depth and pause consistent between sessions. The exact number of plates is less important than reproducing that standard.
Use double progression: keep the weight fixed until every set reaches the top of your intended rep range with the same controlled depth. Then add the smallest practical load increment and return to the lower end of the range. If you can add five kilograms only by making the movement shorter, raising the ribs or bouncing at the top, the new number is not a clean progression. A lighter repeatable set is more informative.
For a four-week trial, use week one to establish the setup and workable load. In week two, add a repetition to one or more sets if the form stays stable. In week three, build toward your top rep target without changing depth. In week four, increase the weight modestly if all sets remain controlled, or simply repeat the most consistent week. This is a test framework, not a claim that four weeks will maximize glute development.
Track the work alongside your other lower-body sets. The KAS bridge is not free volume merely because it is short-range. If your glutes are already getting hard sets from hip thrusts, split squats and hinges, adding three more hard sets can raise fatigue without improving the overall program. Start by replacing some existing glute work, observe recovery and performance, then decide whether the variation earns a permanent slot.
Equipment Worth Exploring
Explore equipment, accessories and gear from our carefully selected range.

Standing Abductor
Plate-loaded standing hip abductor for targeted outer-glute and hip-stability training.


Glute Ham Developer GHD-820
Adjustable glute-ham developer with contoured pads and a fold-out knee support.

45° Hyperextension HPX-650
Angled back-extension trainer with split padding, a ribbed footplate and resistance-band pegs.

Studio V-Squat
Plate-loaded V-squat machine for supported lower-body strength training.

Rubber Hex Dumbbells
Rubber-coated hex dumbbell pairs with a stable shape for home and commercial strength training.


Leg Press/Hack Squat BPR-790
Convertible 45-degree leg press and hack squat machine with a broad footplate and band pegs.

Fix common mistakes and decide where it belongs
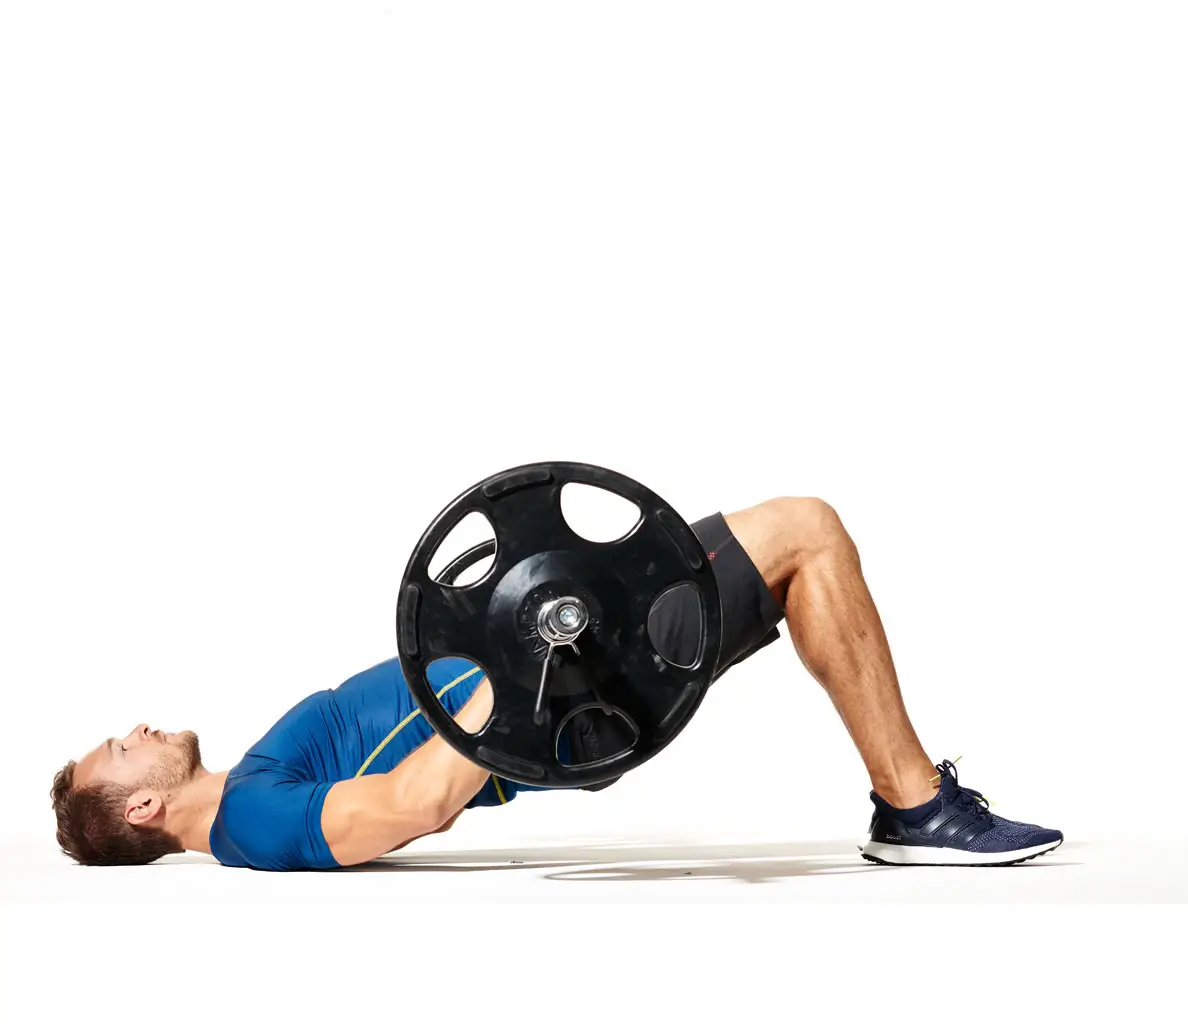
Three errors account for many messy sets. First, the lifter chases extra height by arching the lower back; finish at comfortable hip extension instead. Second, the bar slides or digs into the abdomen; reposition it over the hip crease and use a suitable pad. Third, the range grows as fatigue rises until the final repetitions become full hip thrusts. Reduce load, stop the set sooner or record those reps separately rather than disguising a changed exercise.
Cramping in the hamstrings or an uncomfortable pressure point does not automatically mean a glute is inactive. Adjust foot distance slightly, check that you are not pulling with the heels, and try a lighter load. If a movement causes sharp pain at the hip, back or knee, stop and use a comfortable alternative. A floor bridge or a controlled full-range hip thrust may be the better choice for that session; painful repetitions do not earn bonus points.
Place the KAS bridge after your main squat, hinge or full-range thrust when you want a targeted glute accessory and still have energy to control the pause. It can also be your main hip-extension lift if the setup suits you and you are progressing it reliably. Keep it separate from explosive lower-body work: the small deliberate tempo is the point here, not maximal bar speed. Log the bench, load, depth cue, pause and reps so the next session is a meaningful comparison.
Leg Day Shirts & Workout Gear
Leg-day gym shirts and workout gear for lifters who never skip squats, lunges and lower-body punishment.

I Only Do Butt Stuff At The Meme Glute Lovers, Hip T-Shirt
Heavy lifts, good laughs, and a little “I Only Do Butt Stuff At” energy.

Thicc Booty Meme – Glute Lovers – T-Shirt
Rep “Thicc Booty Gym Meme” humor in and out of the gym.

Bunny Squats & Booty Motivation Leg Day T-Shirt
Bring “Gym Bunny” humor to your next gym day.

Girl – Bootybuilder Leg Day- Squats & Meme – T-Shirt
Rep “Gym Girl” humor in and out of the gym.

Gym Girl Booty Builder Tank
Show some personality between sets with “Gym Girl Booty Builder”.

Muscle Mommy Gym – Peach Booty Training Muscle Shirt fo Tank Top
Bring “Muscle Mommy” humor to your next lifting session.

Never Skip Leg Day Chicken Legs Meme Sweater & Bros T-Shirt
Show some gym-day personality with “Never Skip Leg Day”.

My Leg Hurts Leg Day Sweater & Squat Meme Lovers T-Shirt
Keep things casual with a little “My Leg Hurts” attitude.

Fantastic Booty Leg Day Squats & Glute Builders Meme Hoodie
Bring “Fantastic Booty” gym humor to lazy days and post-workout plans.

Thicc Butt Energy Squat Lovers & Leg Day Hooded Hoodie
Bring “Thicc Butt Energy” gym humor to lazy days and post-workout plans.
The bottom line is simple: make the top-range movement deliberate and measurable. The KAS glute bridge is a legitimate variation, not a scientifically proven shortcut to bigger glutes. If the setup feels stable, the reps stay consistent and it complements the rest of your lower-body training, it can be useful. If it becomes a way to move more plates through less distance, a conventional hip thrust or a simpler bridge will probably serve your log better.